
React router v6 - render child routes with outlet
In this article, we will implement a React application from scratch and use react router dom as our router. We will add a header component, a footer component and page content where we will render our child pages.
As our help, we will use <Outlet /> from react router dom. It allows us to render child content inside of our parent component. This is perfect when we have a parent container, such as our whole Application, where we have elements we want to have present at all time, such as a header and a footer.
Create our application
Let's create our React application. We will use create-react-app for this.
npx create-react-app react-router-dom-example --template typescript
And then, we install react-router-dom
npm i react-router-dom
Set up our routes
Let's create our router. We will set up the structure in the index.tsx file. We will keep this tutorial simple, so we will add three routes - /about, /contact and /terms-and-conditions.
In our index.tsx
import { RouterProvider, createBrowserRouter } from "react-router-dom";

const router = createBrowserRouter([
  {
    path: "/",
    element: <App />,
    errorElement: <div>Not found...</div>,
    children: [
      {
        path: "",
        element: <div>Welcome to our app</div>,
      },
      {
        path: "about",
        element: <div>About us</div>,
      },
      {
        path: "contact",
        element: <div>Contact us here</div>,
      },
      {
        path: "terms-and-conditions",
        element: <div>Terms and conditions</div>,
      },
    ],
  },
]);

const root = ReactDOM.createRoot(
  document.getElementById("root") as HTMLElement
);
root.render(
  <React.StrictMode>
    <RouterProvider router={router} />
  </React.StrictMode>
);
We now have setup our router. Our base component will be the <App />, and it will be the parent basically. Then we have our landing page which will be on "/" path, and then we have the rest of our pages.
Note that we can have children of our children as well if we want to continue our nesting.
Example, if we want to have a cookie policy page within our terms and conditions, our /terms-and-conditions/cookies route would look like this
{
    path: "terms-and-conditions",
    element: <div>Terms and conditions</div>,
    children: [
        {
            path: "cookies",
            element: <div>Cookie policy</div>,
        },
    ],
},
Create our Parent component
Let's move into our App.tsx file, and make use of our routes. We will add some links in our header, and then we will have our page content in the middle and finish up with a footer at the bottom.
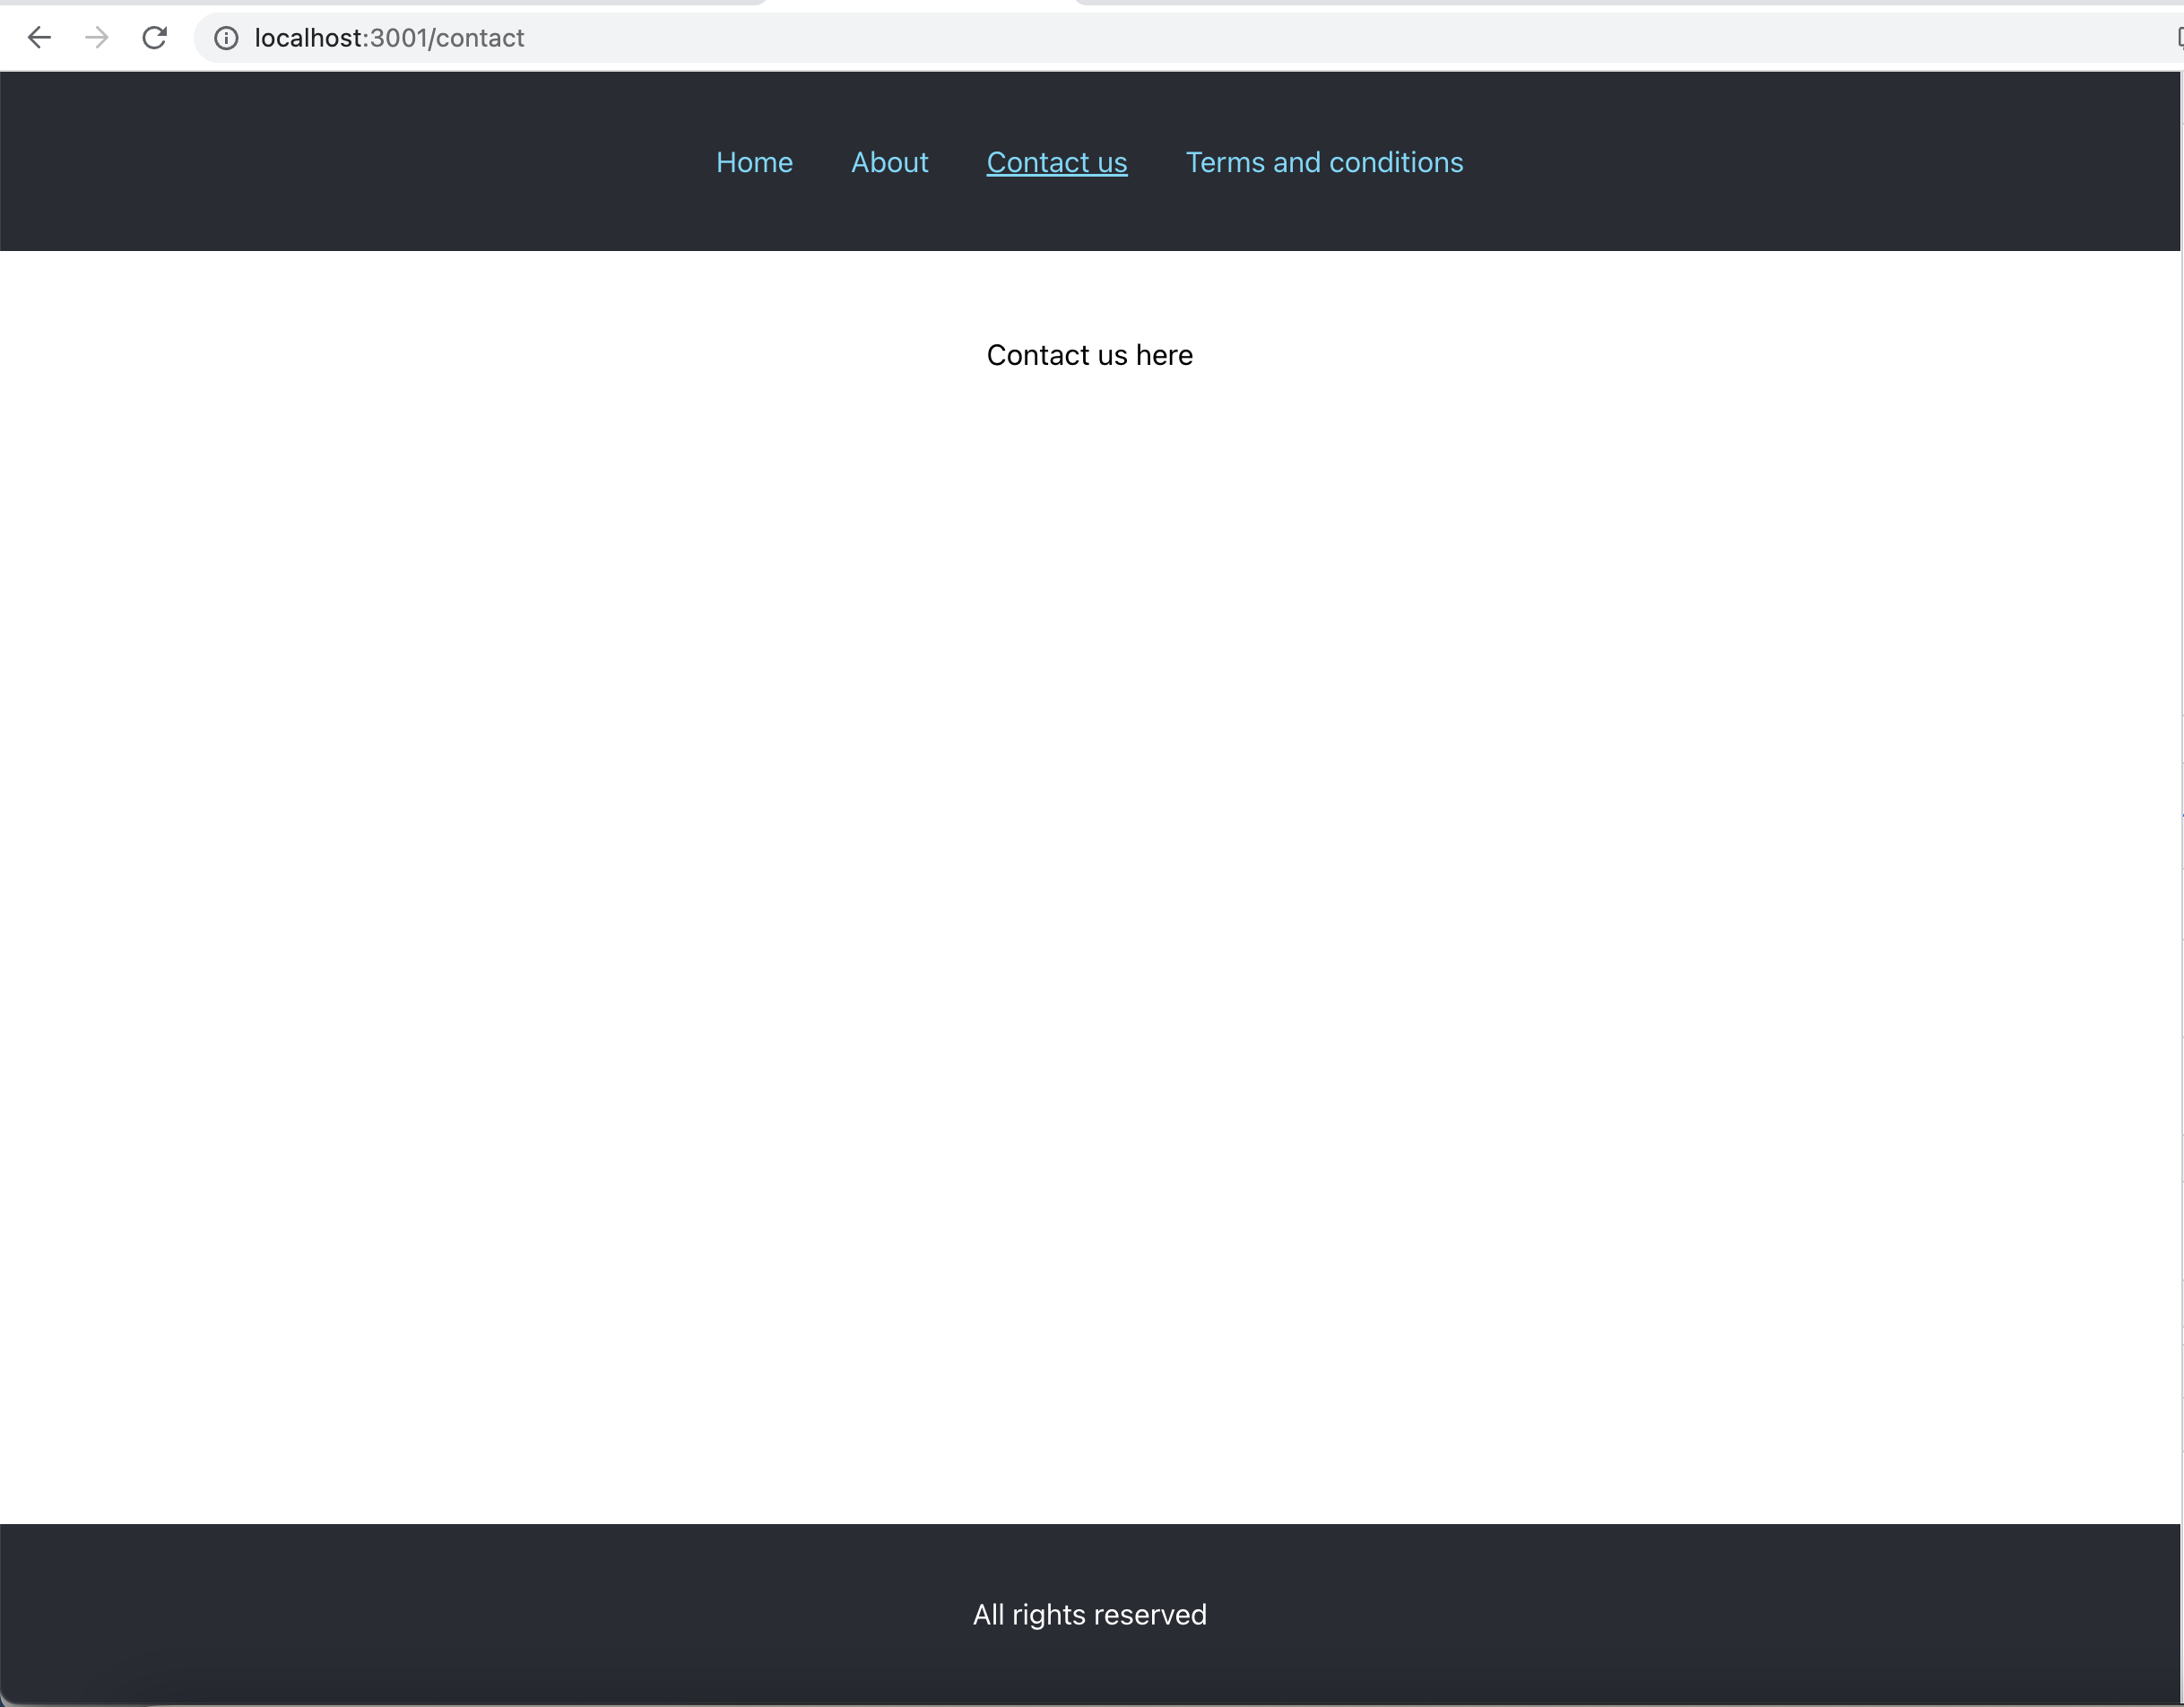
The result will look like this:
Let's change the default code from create-react-app to this:
import React from "react";
import "./App.css";
import { NavLink, Outlet } from "react-router-dom";

function App() {
  return (
    <div className="App">
      <header className="App-header">
        <NavLink
          className={({ isActive }) =>
            isActive ? "App-link App-link-active" : "App-link"
          }
          to="/"
        >
          Home
        </NavLink>
        <NavLink
          className={({ isActive }) =>
            isActive ? "App-link App-link-active" : "App-link"
          }
          to="/about"
        >
          About
        </NavLink>
        <NavLink
          className={({ isActive }) =>
            isActive ? "App-link App-link-active" : "App-link"
          }
          to="/contact"
        >
          Contact us
        </NavLink>
        <NavLink
          className={({ isActive }) =>
            isActive ? "App-link App-link-active" : "App-link"
          }
          to="/terms-and-conditions"
        >
          Terms and conditions
        </NavLink>
      </header>
      <div className="App-content">
        <Outlet />
      </div>
      <footer className="App-footer">All rights reserved</footer>
    </div>
  );
}

export default App;
And that's it for our parent component. We are using NavLink from react-router-dom to take care of the linking. It has a great function for adding an active styling to the link object so we can highlight where we are on our links.
And now, we will add the styling as well. Head over to the App.css file and change to following:
.App {
  text-align: center;
}

.App-header {
  display: flex;
  align-items: center;
  justify-content: center;
  background-color: #282c34;
  height: 100px;
  gap: 2rem;
}

.App-link {
  color: #61dafb;
  text-decoration: none;
}

.App-link-active {
  text-decoration: underline;
}

.App-footer {
  position: fixed;
  bottom: 0;
  right: 0;
  left: 0;
  display: flex;
  justify-content: center;
  align-items: center;
  background-color: #282c34;
  height: 100px;
  color: white;
}

.App-content {
  padding: 3rem;
}
And now when you run npm start in the project folder, you should have the same looking application as the above image.
Outro
In today article, we showed how we can setup a react application with react-router-dom and make use of the Outlet component to make child routes easy to work with. I personally use this feature in Algobook and I find it working really well.
I hope you enjoyed this article, and that it helped you with your routing in your react application.
Thanks for reading, and have a great day!
 Thu May 18 2023
 Webcam component in React for taking photos that can be downloaded or sent to an APIA tutorial on how we can create a component that accesses the webcam and take photos. We will make the image downloadable and prepare it to be added to form data to POST it to an API.
 Update state in React for objects and arraysA guide on how to work with objects and arrays in React states. We will remove, add and update enitities in the state and explain the cause of mutation in React states.
 Implement an add to cart feature in ReactA tutorial on how to implement an add to cart feature for a webshop, using React, context API and JavaScript
 Create a QR code generator in ReactA tutorial on how to build a QR code generator in React using a free API from Algobook.
 Tabs component in React with icon supportIn this tutorial we will create a Tabs component that we can use in our application for showing different type of content.
 Build a full stack application with React and NodeJsA tutorial on how to build a simple full stack application with React in the client side and NodeJs in the backend.
 How to make pages in React scroll to top automaticallyA short tutorial on how we can make our pages always scroll to the top once navigated to. We will create a custom hook that we can implement in our pages.
 Create a contact us form in React with email integration using a free APIA tutorial on how we can create a contact us form with just using React with a 100% free Email API integration.
 Create a responsive sidebar menu in React with a visibility toggleA tutorial on how to create a responsive sidebar in React with icons, links, visibility toggle and a slide in animation. We will also share example how to get it to work with react router dom using NavLinks.
 A react component for displaying Adsense adsA guide on how we can create a component in react for displaying ads from Adsense
 How to achieve a typing animation on a textA short tutorial on how to achieve a typing animation effect on a text, using css and React.