
Create a QR code generator in React using our free API
In this tutorial, we will create a simple component in React, which will generate a QR code for a given value. We will then show the generated QR code in an <img />. We will utilize our free API for creating qr codes.
If you are interested in more features for QR codes, such as creating SVG or decoding a QR code, check our API out!
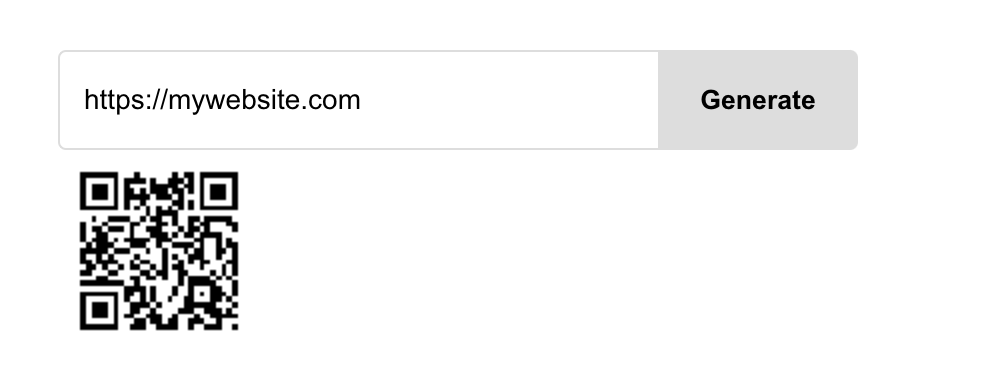
Final result
When we are done, our generator will look like this
Create our project
We will start by creating our React application, using create react app.
npx create-react-app qr-generator --template typescript
cd qr-generator
npm start
App.tsx
Let's begin with navigating to the App.tsx file, and clear the boiler plate code and add a state for the QR code link, so our file looks like this:
import { useState } from "react";
import "./App.css";

function App() {
  const [qrUrl, setQrUrl] = useState<string>();
  return <div className="App"></div>;
}

export default App;
Set up our elements
Next, we will create an input, button and an img for our QR code that we will generate.
Our return statement should look like this:
return (
  <div className="App">
    <div className="inputWrapper">
      <input />
      <button>Generate</button>
    </div>
    {qrUrl && <img alt="qr-code" src={qrUrl} />}
  </div>
);
So basically, we show an input and a button, and if we have a QR url, we show the image of our QR code, which are not rendered if no URL is set in the state.
Input logic
Now, we will create the logic for entering a value in the input
Create a new state called qrValue, this will hold the value of the QR code.
const [qrValue, setQrValue] = useState<string>("");
Then, add the onChange function to the input and make it update our state of the qrValue.
<input value={qrValue} onChange={(e) => setQrValue(e.target.value)} />
Button logic
Then, we will add some logic to the button as well. We start by creating a callback function for the button
const onGenerate = () => {
  if (qrValue) {
    setQrUrl(
      `https://api.algobook.info/v1/qr/create?data=${qrValue}&width=100`
    );
  } else {
    alert("QR value must be set");
  }
};
If a value is entered in the input, we will set the qrUrl state to the API that will generate the QR for us, if no value is entered, we will show an alert.
Then we add the callback to the onClick event of the button
<button onClick={onGenerate}>Generate</button>
Full code
The full code of our App.tsx should now look like this
import { useState } from "react";
import "./App.css";

function App() {
  const [qrUrl, setQrUrl] = useState<string>();
  const [qrValue, setQrValue] = useState<string>("");

  const onGenerate = () => {
    if (qrValue) {
      setQrUrl(
        `https://api.algobook.info/v1/qr/create?data=${qrValue}&width=100`
      );
    } else {
      alert("QR value must be set");
    }
  };

  return (
    <div className="App">
      <div className="inputWrapper">
        <input value={qrValue} onChange={(e) => setQrValue(e.target.value)} />
        <button onClick={onGenerate}>Generate</button>
      </div>
      {qrUrl && <img alt="qr-code" src={qrUrl} />}
    </div>
  );
}

export default App;
Styling
Now it is time to make our generator a little bit more appealing for our users. In the App.css, remove the existing styling and add the following
.App {
  display: flex;
  flex-direction: column;
  padding: 4rem;
}

.inputWrapper {
  display: flex;
  align-items: center;
}

input {
  width: 300px;
  height: 50px;
  box-sizing: border-box;
  border: 1px solid #ddd;
  font-size: 14px;
  background-color: white;
  padding: 12px 20px 12px 12px;
  border-right: none;
  border-radius: 4px 0 0 4px;
}

button {
  display: flex;
  justify-content: center;
  background-color: #ddd;
  align-items: center;
  border: none;
  padding: 12px 24px;
  max-width: 100px;
  font-weight: 800;
  border-radius: 0 4px 4px 0;
  height: 50px;
  cursor: pointer;
}

button:hover {
  opacity: 0.8;
}

img {
  width: 100px;
  height: 100px;
}
Summary
In this tutorial, we demonstrated how we can create a simple generator component for QR codes in React, using our free qr-api. As stated above, if you want to explore more cool features such as decoding already created QR images, check the API out for more info. And if you have any questions or feedback, don't hesitate to contact us.
Thanks for reading, and have a great day!
 Sun Jun 04 2023
 Webcam component in React for taking photos that can be downloaded or sent to an APIA tutorial on how we can create a component that accesses the webcam and take photos. We will make the image downloadable and prepare it to be added to form data to POST it to an API.
 Update state in React for objects and arraysA guide on how to work with objects and arrays in React states. We will remove, add and update enitities in the state and explain the cause of mutation in React states.
 Implement an add to cart feature in ReactA tutorial on how to implement an add to cart feature for a webshop, using React, context API and JavaScript
 Tabs component in React with icon supportIn this tutorial we will create a Tabs component that we can use in our application for showing different type of content.
 Build a full stack application with React and NodeJsA tutorial on how to build a simple full stack application with React in the client side and NodeJs in the backend.
 How to make pages in React scroll to top automaticallyA short tutorial on how we can make our pages always scroll to the top once navigated to. We will create a custom hook that we can implement in our pages.
 Create a contact us form in React with email integration using a free APIA tutorial on how we can create a contact us form with just using React with a 100% free Email API integration.
 Create a responsive sidebar menu in React with a visibility toggleA tutorial on how to create a responsive sidebar in React with icons, links, visibility toggle and a slide in animation. We will also share example how to get it to work with react router dom using NavLinks.
 A react component for displaying Adsense adsA guide on how we can create a component in react for displaying ads from Adsense
 How to achieve a typing animation on a textA short tutorial on how to achieve a typing animation effect on a text, using css and React.