
How to download data from GCP bucket in NodeJs
In this article, we will demonstrate how we can download a file from GCP bucket, and provide it from an endpoint in NodeJs using express.
Prerequisites
- Authentication to GCP (
gcloud auth loginfrom terminal) or use service account and set env variable like:export GOOGLE_APPLICATION_CREDENTIALS="/path/to/my-service-account-key.json". - Bucket enabled in GCP
- Type
npm install @google-cloud/storage expressin your terminal
Add file to your bucket
If you haven't already, lets create a folder and add a file to it.
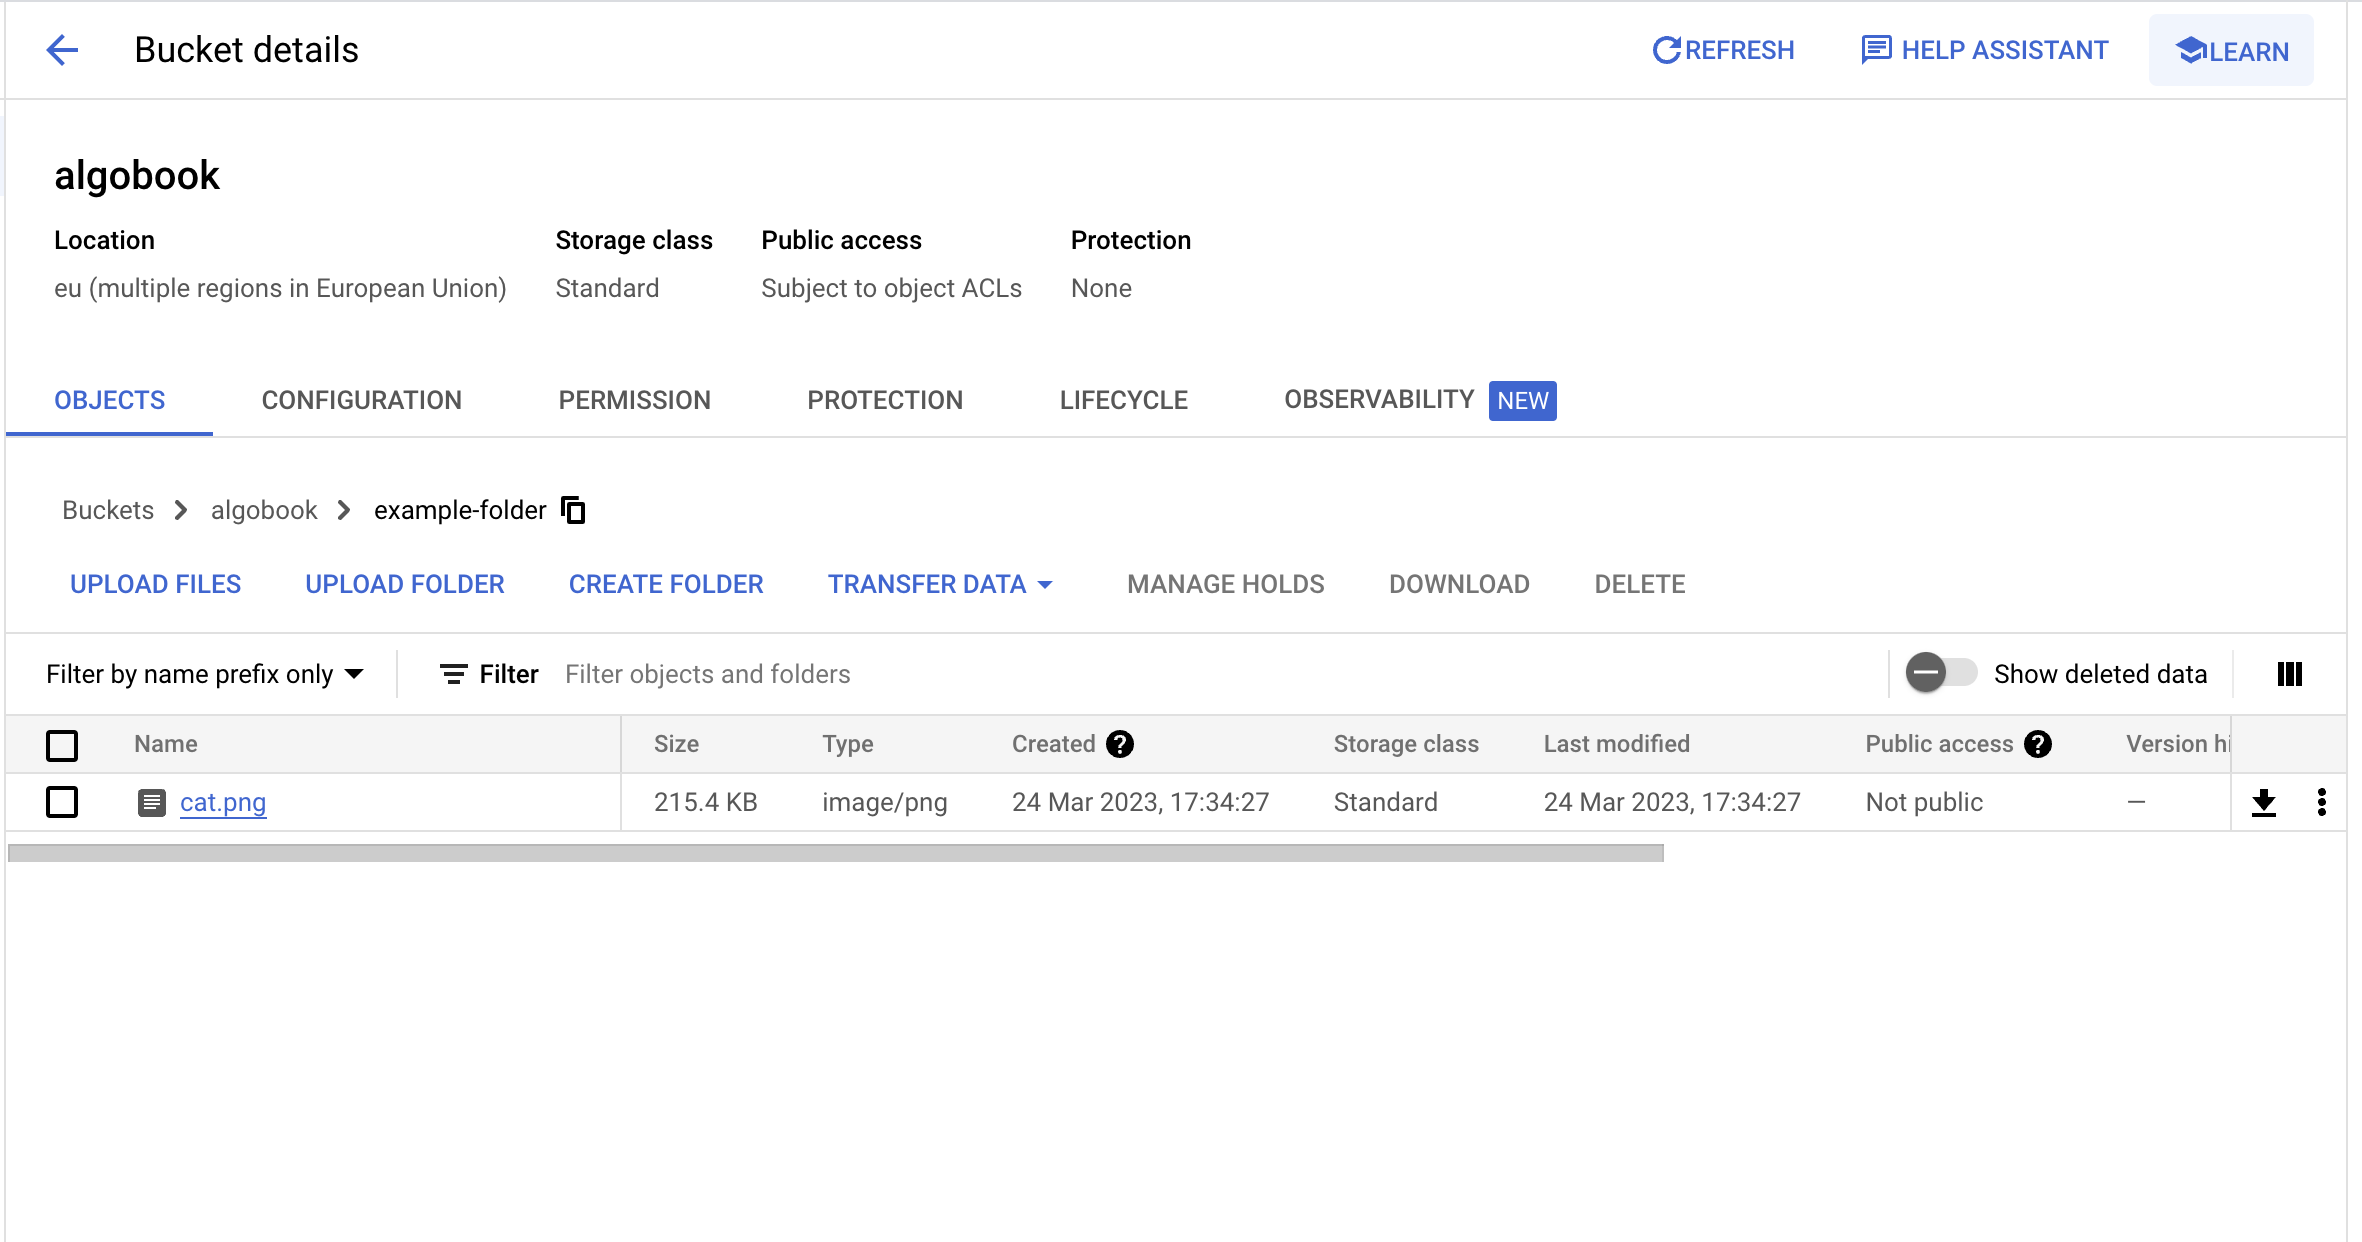
In this example, we have a structure like example-folder -> cat.png in a bucket called algobook.
Write our BucketHandler class
We will start with writing our BucketHandler class.
const { Storage } = require("@google-cloud/storage");

const storage = new Storage();

const bucketName = "algobook";

class BucketHandler {
  async getFile(path) {
    const bucket = storage.bucket(bucketName);
    return await bucket.file(path).download();
  }
}

module.exports = BucketHandler;
So, in this class we are importing Storage class from Googles library and using it to first get the bucket, and then downloading the file provided in the arguments and returning it. The download() function will return a Buffer array which we can use to either save the file to disk, or as we will demonstrate next, provide it in a GET endpoint.
Create GET endpoint
In our server, index.js, lets create an endpoint and use our BucketHandler.
const express = require("express");
const BucketHandler = require("./bucketHandler");
const bucketHandler = new BucketHandler();

const app = express();

app.get("/bucket", async (req, res) => {
  const { fileName } = req.query;
  const bufferArray = await bucketHandler.getFile(`example-folder/${fileName}`);
  res.send(Buffer.from(bufferArray[0]).toString("base64"));
});

app.listen(3001, () => {
  console.log(`Example app listening on port 3001`);
});
We set up an endpoint /bucket which takes a query param fileName and pass it into our getFile() function which returns a buffer array. To make it more handy for the client, we encode it into a base64 string and send it.
Try out the endpoint like: http://localhost:3001/bucket?fileName=cat.png and you should see a base64 string as response. If you want to check the result as an image, try this online tool to convert it to an image. If you want to use it in your client application, check out our article about how to convert base64 into an image and display it.
Creating a signed url
If you want to give the consumer a link to the bucket file instead, there is a possibility to use signedUrl. This basically provides limited permissions and time to make the request.
Example of getting a signedUrl:
 async getFile(path) {
    const bucket = storage.bucket(bucketName);
    const validTime = new Date();
    validTime.setHours(validTime.getHours() + 12);

    return await bucket
      .file(path)
      .getSignedUrl({ version: "v4", action: "read", expires: validTime });
  }
In above example, we are providing a signed url with read access for 12 hours.
NOTE: In order to sign urls locally, you need to use a service account.
Thanks for reading!
 Sat Mar 25 2023