React currency converter widget
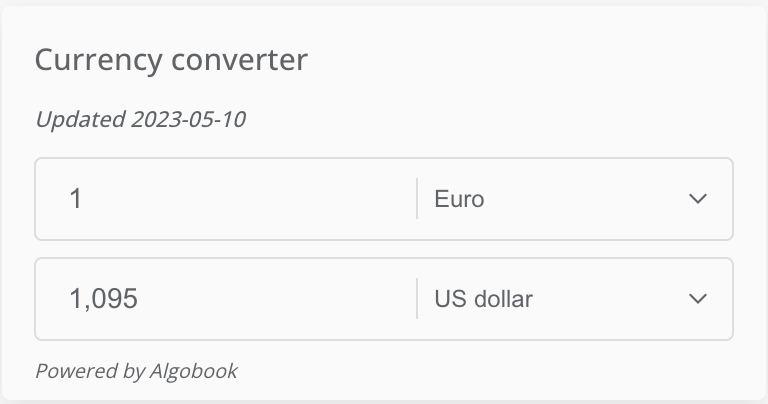
Based on our own API for exchange rates, we have created a widget which can be used to convert currencies that we support.
The widget is fully customizable when it comes to styling, just provide your own className to it and do what suits you and your project the best.
Default design

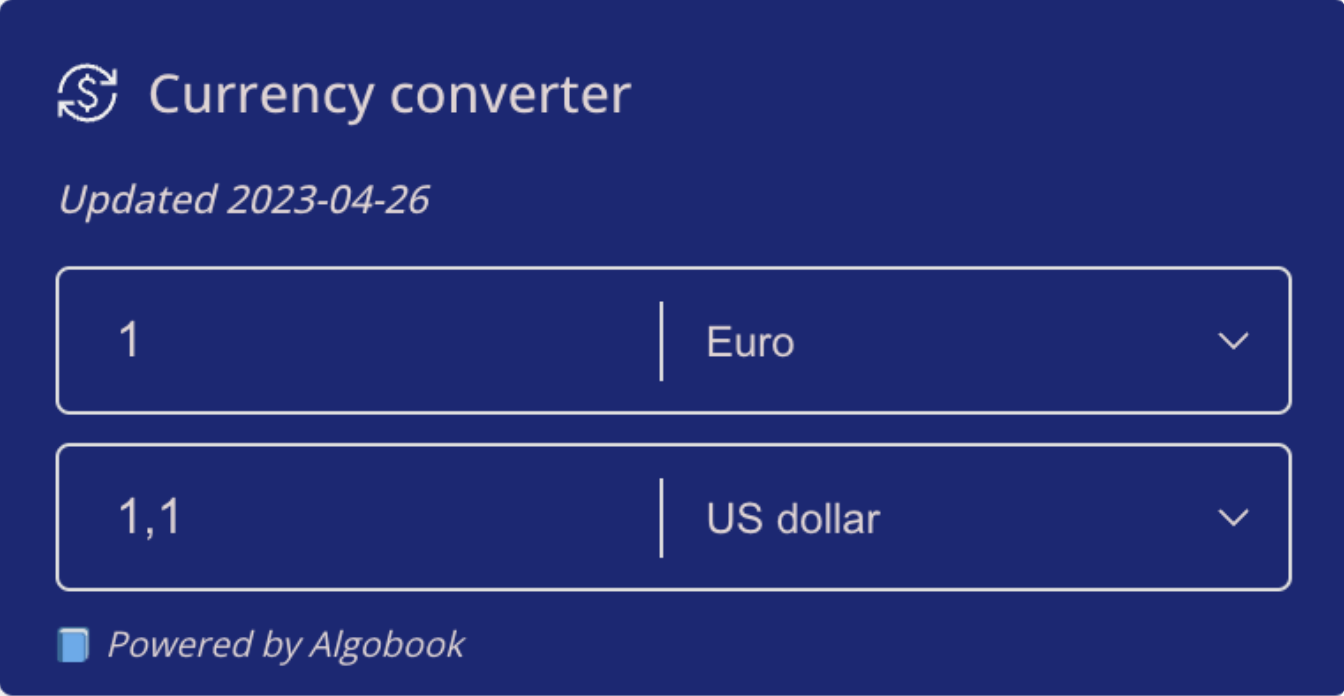
Custom background color
In below example we have provided the widget with custom design.

Usage
In this section, we will go through different ways of using the widget.
Download
npm i currency-converter-widget
All props available
Below is all the properties available for the widget. All are optional as of today
type Currencies =
  | "EUR"
  | "USD"
  | "JPY"
  | "BGN"
  | "CZK"
  | "DKK"
  | "GBP"
  | "HUF"
  | "PLN"
  | "RON"
  | "SEK"
  | "CHF"
  | "ISK"
  | "NOK"
  | "TRY"
  | "AUD"
  | "BRL"
  | "CAD"
  | "CNY"
  | "HKD"
  | "IDR"
  | "ILS"
  | "INR"
  | "KRW"
  | "MXN"
  | "MYR"
  | "NZD"
  | "PHP"
  | "SGD"
  | "THB"
  | "ZAR";

interface IConverterProps {
  label?: string;
  className?: string;
  fromDefault?: Currencies;
  toDefault?: Currencies;
  iconTheme?: "LIGHT" | "DARK";
  hideIcon?: boolean;
}
Default behaviour
This will provide you with the default design and default currencies. If no currencies are provided as default starting currencies, we will always start with converting Euro to USD.
import { CurrencyConverter } from "currency-converter-widget";

<CurrencyConverter />;
Providing custom label
As default, the label is Currency converter, but it can be changed by setting the label prop.
import { CurrencyConverter } from "currency-converter-widget";

<CurrencyConverter label="My label" />;
Providing default currencies
As stated, EUR and USD is our default starting currencies. But if you want, you can change to your own preference. Below example shows SEK to DKK. At the bottom of the page we will list all our supported currencies.
import { CurrencyConverter } from "currency-converter-widget";

<CurrencyConverter fromDefault="SEK" toDefault="DKK" />;
Provide you own styling
If you want to change the widget to fit your design, simply add a className to it, and override our styling as you which. For the icon, we support either LIGHT or DARK where DARK is the default.
import { CurrencyConverter } from "currency-converter-widget";
import style from "./MyStyles.module.scss";

<CurrencyConverter iconTheme="LIGHT" className={style.currencyConverter} />;
And styles like this for example. Below is the styling for the blue widget example at the top of this page.
.currencyConverter {
  background-color: #162674;
  color: #e1d4d4 !important;

  select {
    color: #e1d4d4;
  }

  input {
    color: #e1d4d4;
  }

  a {
    color: #e1d4d4;
  }
}
Supported currencies
This is our list of supported currencies.
[
  {
    "code": "USD",
    "name": "US dollar"
  },
  {
    "code": "JPY",
    "name": "Japanese yen"
  },
  {
    "code": "BGN",
    "name": "Bulgarian lev"
  },
  {
    "code": "CZK",
    "name": "Czech koruna"
  },
  {
    "code": "DKK",
    "name": "Danish krone"
  },
  {
    "code": "GBP",
    "name": "Pound sterling"
  },
  {
    "code": "HUF",
    "name": "Hungarian forint"
  },
  {
    "code": "PLN",
    "name": "Polish zloty"
  },
  {
    "code": "RON",
    "name": "Romanian leu"
  },
  {
    "code": "SEK",
    "name": "Swedish krona"
  },
  {
    "code": "CHF",
    "name": "Swiss franc"
  },
  {
    "code": "ISK",
    "name": "Icelandic krona"
  },
  {
    "code": "NOK",
    "name": "Norwegian krone"
  },
  {
    "code": "TRY",
    "name": "Turkish lira"
  },
  {
    "code": "AUD",
    "name": "Australian dollar"
  },
  {
    "code": "BRL",
    "name": "Brazilian real"
  },
  {
    "code": "CAD",
    "name": "Canadian dollar\t"
  },
  {
    "code": "CNY",
    "name": "Chinese yuan renminbi"
  },
  {
    "code": "HKD",
    "name": "Hong Kong dollar"
  },
  {
    "code": "IDR",
    "name": "Indonesian rupiah"
  },
  {
    "code": "ILS",
    "name": "Israeli shekel"
  },
  {
    "code": "INR",
    "name": "Indian rupee"
  },
  {
    "code": "KRW",
    "name": "South Korean won"
  },
  {
    "code": "MXN",
    "name": "Mexican peso"
  },
  {
    "code": "MYR",
    "name": "Malaysian ringgit"
  },
  {
    "code": "NZD",
    "name": "New Zealand dollar"
  },
  {
    "code": "PHP",
    "name": "Philippine peso\t"
  },
  {
    "code": "SGD",
    "name": "Singapore dollar"
  },
  {
    "code": "THB",
    "name": "Thai baht"
  },
  {
    "code": "ZAR",
    "name": "South African rand"
  },
  {
    "code": "EUR",
    "name": "Euro"
  }
]
Consume our API
If you want to create your own widget or have another use case, we have a free API for you to consume. You can find all documentation on how to use it here.

